
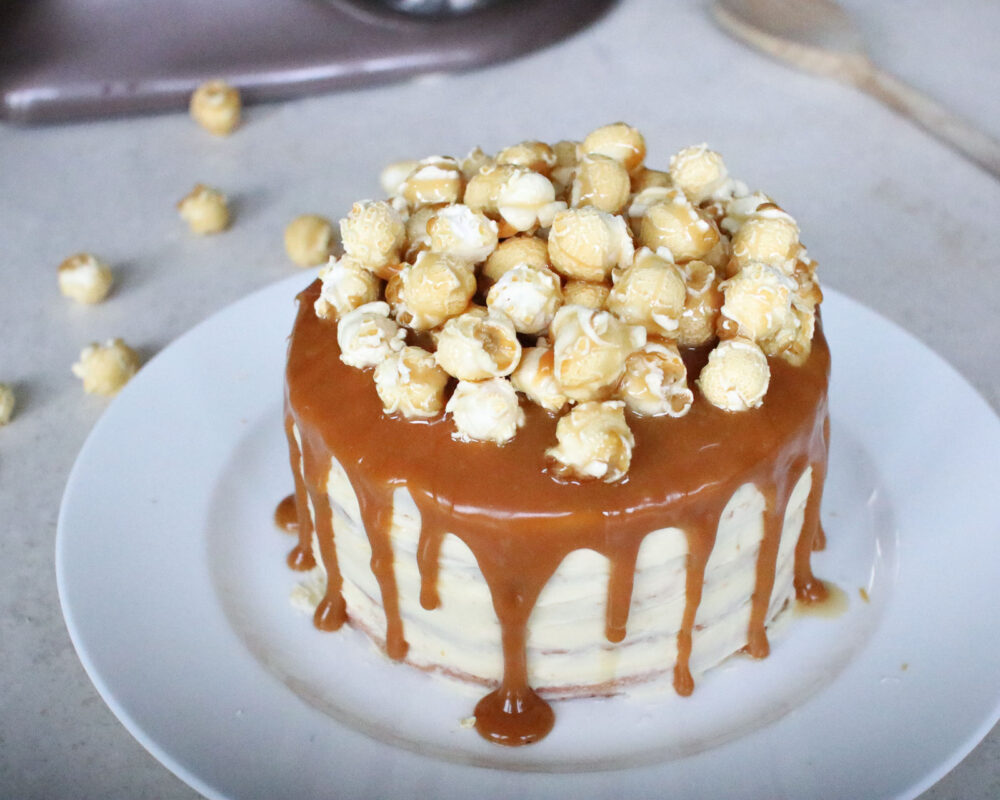

Salted Caramel Drip Cake
It’s that time of year again – when the summer is slowly coming to an end (perhaps not so slowly in Scotland..) and it’s the time to stay in & get cosy watching all of the great Autumn television. And let’s face it, the best programme to watch is The Great British Bake Off.
The first week of every series of Bake Off is cake week and this is personally my favourite category of the whole season. I’ve been baking cakes since I was very little – my grandmother taught me how to bake at a very young age and I’ve loved doing it ever since.
So I thought in the spirit of Bake Off that I’d share the recipe for this very good-looking, but surprisingly easy to make, salted caramel drip cake.
Ingredients
For the sponge cakes:
- 4oz unsalted butter or Stork
- 4oz caster sugar
- 6oz self-raising flour
- 3 medium eggs (at room temperature)
- 1 tsp vanilla essence
For the filling/decoration:
- 5oz unsalted butter
- 10oz icing sugar
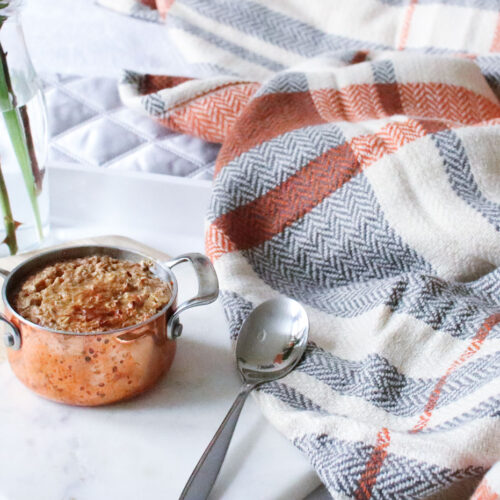
- 1 tub salted caramel sauce
- 1 bag toffee popcorn
Equipment needed:
- 5 x 6 inch baking tins
- Food processor/hand whisk

Method

- Preheat your oven to 180 degrees & grease your baking tins. If you have some, place some baking parchment at the base of each tin.
- Cream together the butter & sugar in a large bowl. You want the colour to change from yellow to more of a cream colour.
- Gradually add in the eggs (one at a time) and the flour. The mixture should be light & fluffy once everything is mixed in. Add the tea-spoon of vanilla essence.
- Decant the mixture equally between the 5 tins. Pop the tins in the oven for around 15 minutes. Check the sponges with a skewer when the time is up to make sure they are cooked the whole way through. Leave to cool on a rack before removing the sponges from the tins.
- While the cakes are cooling, mix together the butter & icing sugar to make the buttercream. Make sure the butter is nice & soft before you start & gradually add in the sugar.
- Start building the cake by placing the first layer on a cake board or plate & spread some of the salted caramel sauce & then some buttercream onto it. Continue doing this until you get to the top.
- Use a knife to put the remaining buttercream on the top of the cake & spread it evenly onto the sides. I like the “naked” cake look so I continuously spread the buttercream with a palette knife until it was even but the layers of the cake were peeking through. Pop the cake into the fridge for around 20 minutes to allow the buttercream to cool.
- Heat up the remaining caramel sauce (I just did it in the microwave). Use a small spoon to pour some onto the top of the cake near the edges & it should just roll off naturally onto the sides. Continue doing this all around the edges of the cake & then put any remaining sauce onto the top & smooth it over.
- Finally add the popcorn to the top to decorate. You could do this as a ring, all over like I have or just however you like.

And there you have it! 9 steps to a salted caramel drip cake. Trust me, it really isn’t as complicated as it looks. Drip cakes are incredibly trendy right now – what I love about them is that they have such a nice finish but it doesn’t take long at all to decorate them.
I hope you’ve enjoyed this, please stay tuned for more recipes here on Sartorial Scot. Check out my instagram here to see some more pics of the things I’ve been baking – I have lots of bake off & also Autumnal baking plans over the next few weeks!


